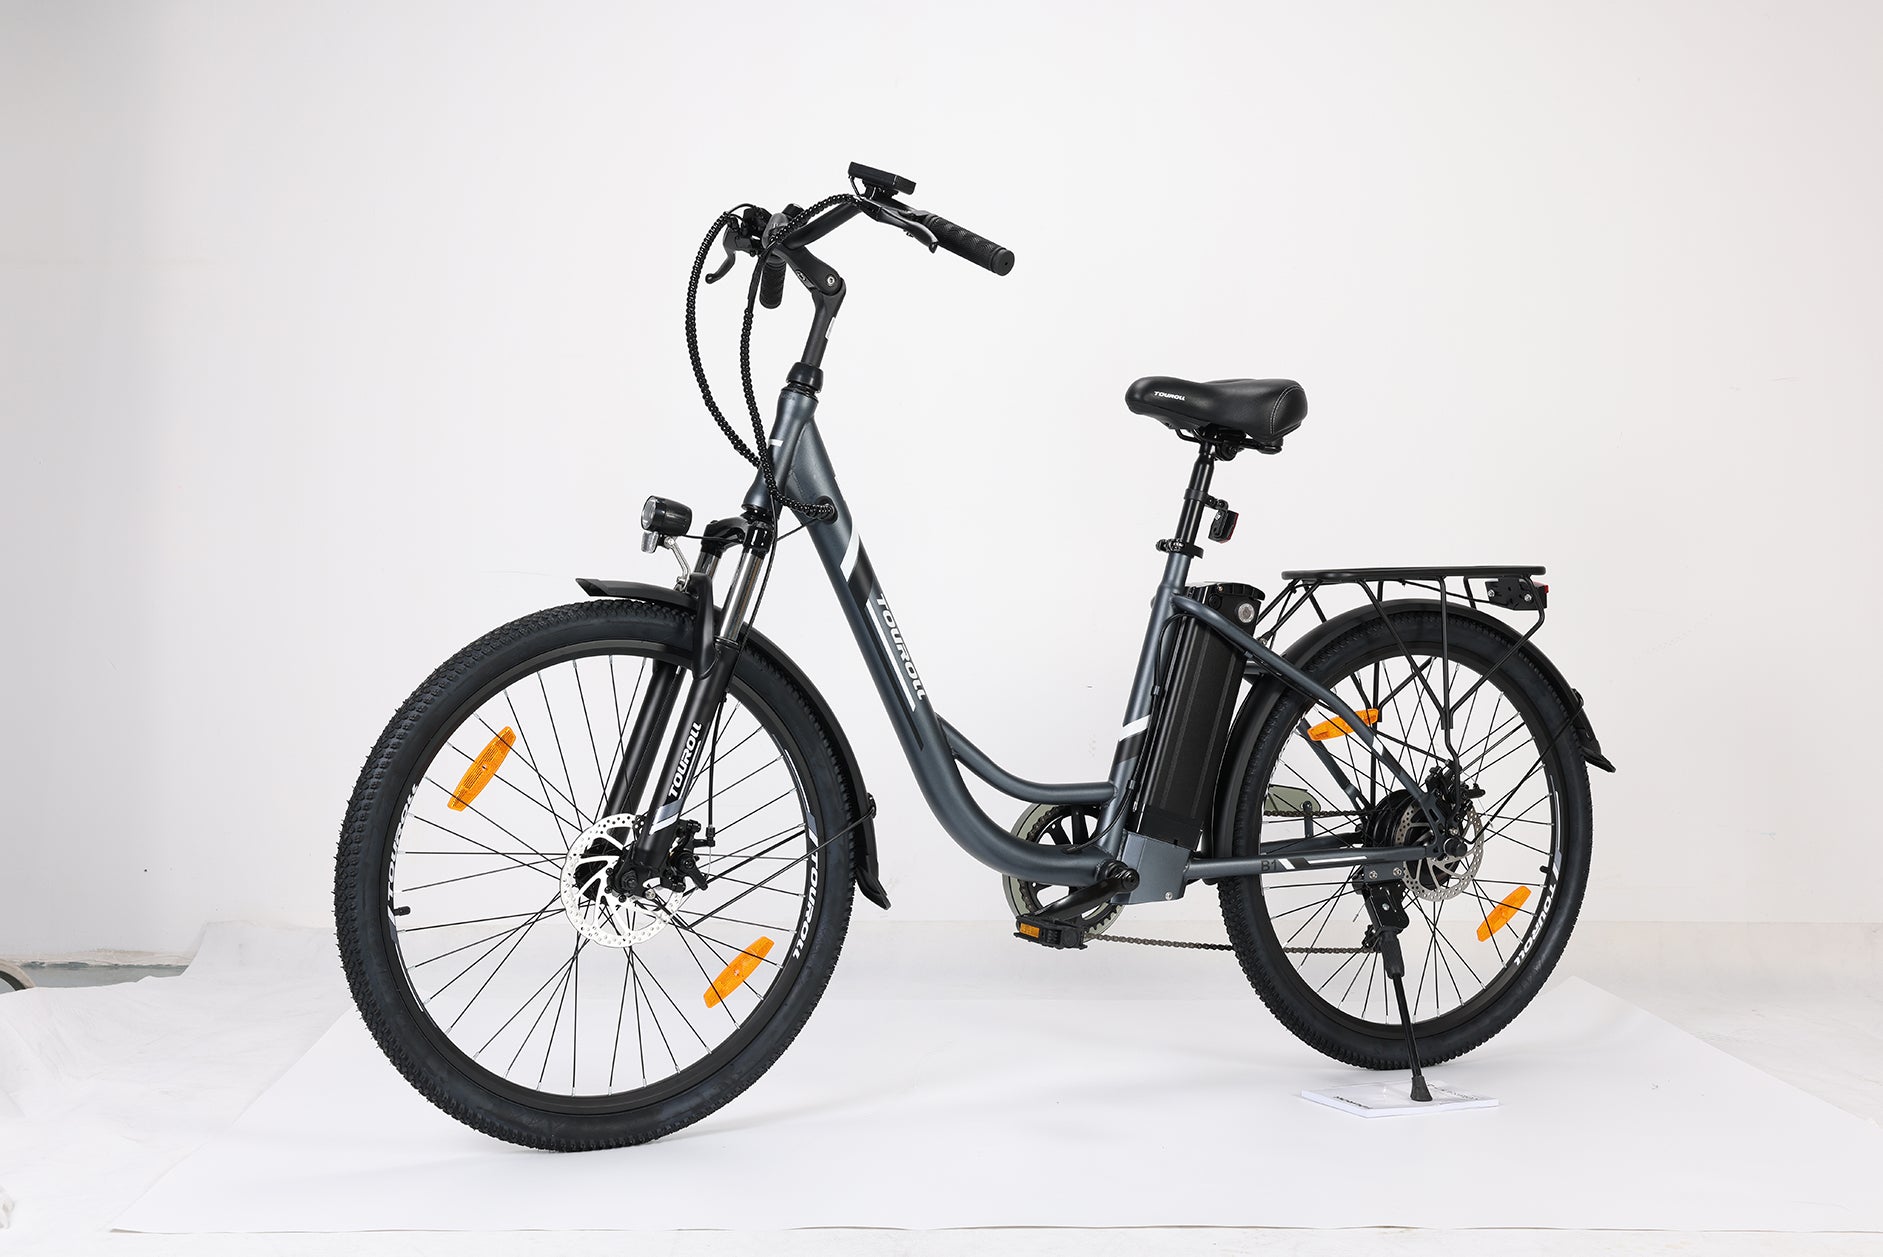
Imagine yourself as a modern-day craftsman, holding the key to unlock the potential of your new Touroll B1 commuter bike. With determination in your eyes and tools in hand, you are about to embark on a journey of creation and transformation. Piece by piece, you will bring this mechanical marvel to life, shaping it into a symbol of freedom and exploration. As you assemble the bike, feel the thrill of anticipation building within you, knowing that soon you will be ready to hit the open road and experience the world in a whole new way.
Step 1 - Installing the Stem and Handlebar
- A) Insert the stem into the head tube and remove the rubber stopper.
- B) Adjust the stem at the right position as the line drawing shows and tighten the screw inside the hole of the stem.
- C) Put the rubber stopper back in.
- D) Open the clip by loosing the screws on it.
- E) Place the handlebar in the right position and make sure the clip is in the middle of the bar.
- F) Lock the clip by tightening the screws.

Step 2 - Installing the Headlight and Front Mudguard
- A) Place the mudguard support between the headlight support and fork arch.
- B) Fix the supports of the mudguard by tightening the screws as the line drawing shows below.
- C) Connect the light cable with the bike cable.
- D) Secure the mudguard by tightening up the screws on the fork end.

Step 3 - Installing the Front Wheel
- A) Put the bike upside down.
- B) Loosenthe nut to remove the temporary protected bar.
- C) Insert the wheel between the fork blades so that the axle can seat firmly at the fork dropouts(the slots at the tip of the fork blades).
- D) Put the gaskets on it and tighten the nuts.

Step 4 - Adjusting the Stem Angle
- A) Loosenthe stem with the M6 hex key.
- B) Adjust the stem to the angle you want and fix it by tightening the screws.

Step 5 - Fixing the Rear Rack and Rear Mudguard
- A) Fix all the screws of the supports of the rear rack and rear mudguard as the line drawing shows.

Step 6 - Installing the Rear Light
- A) Insert the two screws at the back of the rear light into the screw holes of the taillight mount.
- B) Fix the taillight by tightening the bolt.
- C) Tidy up the cable of the taillight with zip ties.

Step 7 - Mounting the Seat
- A) Put the seat post into the support frame.
- B) Adjust the seat to a suitable height and fix it by locking the quick-release clip.

Step 8 - Installing the Rear Reflector and Spoke Reflectors
- A) Secure the rear reflector to the ring bracket by tightening the screw as line drawing 1 shows.
- B) Loosening the screw shown in line drawing 2 to adjust the angle of the rear reflector.
- C) Loosening the screw shown in line drawing 3 to open the ring bracket.
- D) Attach the ring bracket to the seat post and tighten the screw shown in line drawing 4.
- E) Attach the spoke reflectors onto the spokes as shown in line drawings 5 and 6.

Step 9 - Mounting the Pedals

Step 10 - Installation & Removal of the Battery
Installation
- A) Remove the saddle and slide the battery intothe battery compartment.
- B) Lock the battery by turning the key clockwise until the metal block protrudes.

Removal
- A) Unlock the battery by turning the key counterclockwise until the metal block retracts.
- B) Remove it from the battery compartment.

NOTE: The battery is already installed in the bike upon delivery.
Step 11 - Turning the Power on
- A) Lock the battery and turn the instrument on. Then it’s ready to go!


Partager:
Assembly of the Touroll S1 Is a Snap
How to Maximize the Range of Your Touroll E-Bike